
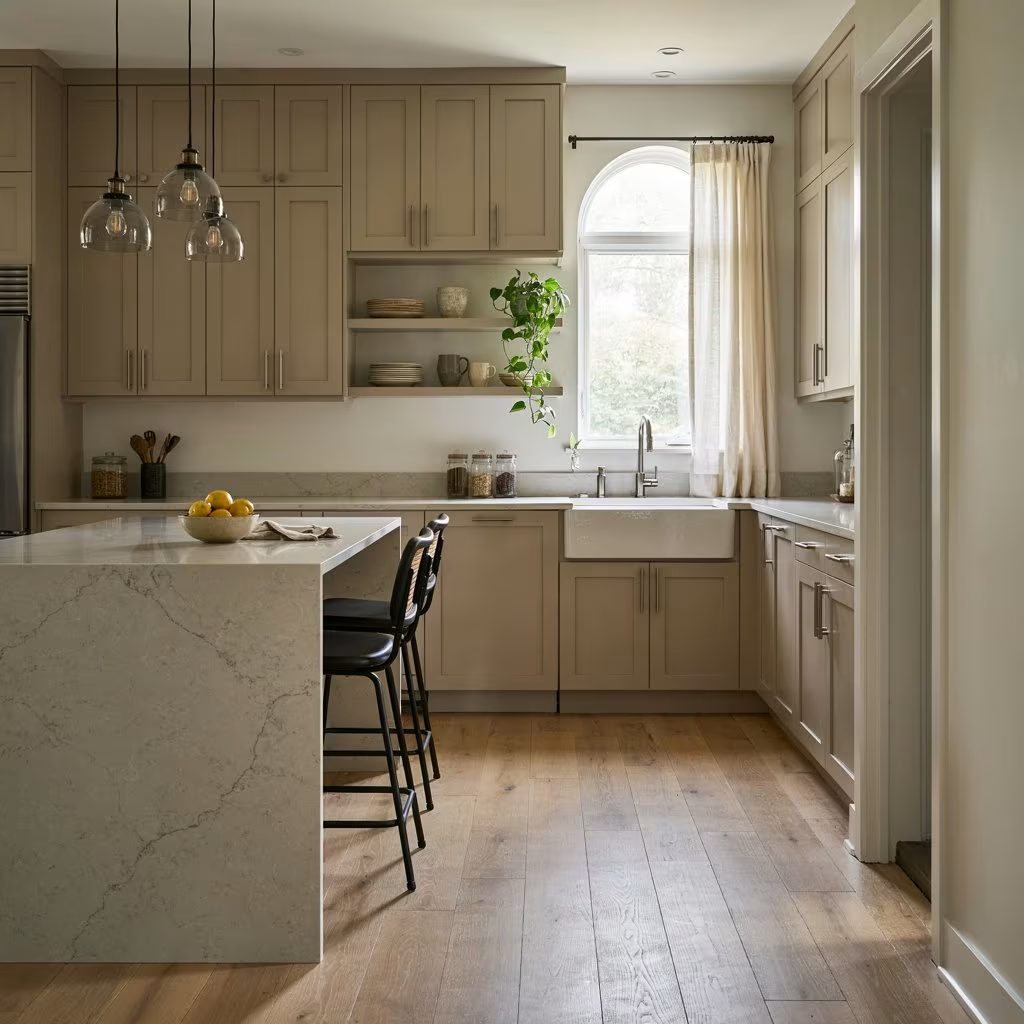
If your cabinets are the last dated thing standing between you and the kitchen you actually want, you don’t need a demolition crew to fix it. Learning how to paint kitchen cabinets properly with the right prep, the right primer, and the right cure time is still the single highest-return weekend project in the house. A full cabinet replacement can run into five figures. A well-executed paint job costs a few hundred dollars in materials and gets you 90% of the same visual impact.
The catch is that “painting kitchen cabinets” and “painting kitchen cabinets well” are two very different projects. Most of the disappointing results you’ve seen online the peeling edges, the tacky drawer fronts, the brush marks that catch the afternoon light trace back to two or three skipped steps, not bad luck. This guide walks through the entire process the way a working cabinet painter would approach it: material assessment, prep, priming, application, and the curing window that most tutorials rush past.
Before You Start What Kind of Cabinets Do You Have?
Every “how to” guide assumes you’re working with the same surface, and that’s where a lot of projects go wrong before the first coat ever goes on. The prep and primer you need change depending on the material.
- Solid wood or wood veneer is the most forgiving surface. Takes sanding and primer well, and grain telegraphing (where wood grain shows through paint) is your main enemy.
- MDF (medium-density fibreboard) is smooth and paint-friendly, but the edges absorb moisture and swell if you oversaturate them, so lighter coats matter more than on solid wood.
- Laminate a plastic-coated surface that paint doesn’t grip naturally. This is where most DIY failures happen, because standard primer beads up or peels off within months.
- Thermofoil, a vinyl film over MDF. Similar issue to laminate, plus it’s more heat-sensitive, so avoid resting anything hot near freshly painted thermofoil doors.
If you’re not sure what you’re working with, run a fingernail test: laminate and thermofoil feel slick and slightly plasticky, while wood and MDF have a bit more texture even when painted. This one identification step decides whether you can skip sanding or not which matters, because “paint kitchen cabinets without sanding” is one of the most common questions homeowners search, and the honest answer is it depends on the surface, not on the product marketing.
Tools and Materials You’ll Actually Need
Skip the 40-item shopping lists. Here’s what a cabinet-painting project realistically requires:
- TSP (trisodium phosphate) cleaner or a heavy-duty degreaser
- 120-grit and 220-grit sandpaper, or a liquid deglosser if you’re avoiding sanding
- Wood filler for dents, dings, and old hardware holes
- Painter’s tape and rosin paper or plastic sheeting
- A bonding primer rated for your cabinet material
- Cabinet-grade paint (more on this below)
- Angled sash brush (2–2.5″) for corners and profiles
- Microfiber mini roller for flat panels
- Optional: an HVLP paint sprayer, for a factory-smooth finish on doors and drawer fronts
- Painter’s pyramids or drying racks, so doors don’t stick to your work surface
- A screwdriver, labeled painter’s tape, and sandwich bags for hardware and hinges
How to Paint Kitchen Cabinets The Step-by-Step Process
This is the sequence that separates a finish that lasts five to ten years from one that starts chipping by spring.
1. Empty and Label Everything
Take every door and drawer off, and number each one (plus its matching hinge location) with painter’s tape on the inside edge. This sounds tedious, but it’s the difference between a smooth reinstall and a puzzle you’re solving at 9 p.m. Store hinges, hardware, and screws in labeled bags.
2. Deep-Clean Before You Touch Sandpaper
Kitchen cabinets carry an invisible film of cooking grease, even if they look clean. Wipe every surface down with a TSP solution or a strong degreaser, rinse, and let everything dry fully. Skipping this step is the single most common reason paint fails to bond sandpaper and primer can’t compensate for a greasy substrate underneath.
3. Sand or Deglaze
For wood and MDF, a light scuff-sand with 120-grit removes the old sheen and gives primer something to grip; you’re not trying to strip the finish, just dull it. Follow with a tack cloth to pull up dust. For laminate or thermofoil, or if you’d rather skip sanding altogether, a liquid deglosser will chemically etch the surface so a bonding primer can adhere this is the legitimate version of “no-sand” cabinet painting, not a shortcut that skips prep entirely.
4. Fill, Repair, Re-Sand
Fill dents, old hardware holes, or chips with wood filler; let it cure, then sand flush. This is also the point to fix any drawer front damage paint will highlight surface flaws, it doesn’t hide them.
5. Prime With a Bonding Primer
This step gets skipped more than any other, and it’s the one that determines whether your paint job survives contact with real kitchen life. A stain-blocking, bonding primer seals wood tannins (which otherwise bleed through as yellow patches), gives slick surfaces like laminate something to hold onto, and evens out absorbency across patched and unpatched areas. Apply one thin, even coat, and let it dry fully per the label rushing this step is a common reason for a blotchy topcoat later.
6. Paint in Thin Even Coats
Two to three thin coats beat one thick one, every time. Thick coats pool in corners, take far longer to cure, and are more prone to visible brush marks. Cut in edges and profiles with the angled brush first, then fill flat panels with the roller (or sprayer, if you’re using one) while the edges are still wet, to avoid lap marks. Let each coat dry to the touch before recoating typically a few hours for waterborne enamels and do a light sand with fine-grit paper between coats for the smoothest possible final surface.
7. Respect the Cure Time Not Just the Dry Time
This is the step every rushed tutorial glosses over, and it’s arguably more important than which paint you buy. Dry time is how long until paint feels solid to the touch (often just an hour or two). Cure time is how long the film needs to fully harden all the way through, and it’s measured in weeks, not hours most cabinet-grade enamels need roughly two to four weeks to reach full hardness. Rehanging doors and using cabinets normally before that window closes is the number one reason freshly painted cabinets end up with fingerprints, sticking drawers, or chips near the hinges within the first month.
Choosing the Right Paint: A Straight Comparison
“Best paint for kitchen cabinets” searches usually return a wall of competing brand claims. Stripped of marketing, here’s how the main categories actually compare in real kitchens:
|
Paint Type |
Pros | Cons |
Best For |
| Waterborne alkyd enamel (e.g., Benjamin Moore Advance) | Self-levels to a near-factory finish, low odor, hard cured film | Longer cure time (2–4 weeks), higher cost | Homeowners prioritizing a smooth, furniture-grade look |
| Urethane trim enamel (e.g., Sherwin-Williams Emerald Urethane) | Fast dry, strong stain and scuff resistance | Slightly less self-leveling than waterborne alkyd | High-traffic kitchens, families with kids |
| Acrylic cabinet enamel (budget lines) | Inexpensive, easy brush cleanup, wide color range | Softer cured film, more prone to chipping over years | Renters, short-term refreshes, low-traffic cabinets |
| Chalk-style / mineral paint | Minimal prep, no sanding required, matte designer look | Needs a topcoat sealer for durability, shows fingerprints on matte finish | Farmhouse or vintage-style kitchens where matte is the goal |
Across finishes, satin or semi-gloss consistently outperforms matte on cabinets specifically, since the slight sheen resists grease and fingerprints and wipes clean without dulling.
Climate Considerations Most Guides Skip
Where and when you paint matters as much as what you use. Paint cures through evaporation and chemical cross-linking, and both slow down outside a fairly narrow range.
- High humidity slows solvent evaporation, which extends both dry and cure time and increases the risk of a soft, easily marked finish if cabinets go back into service too early.
- Cold air (below roughly 50°F / 10°C) has a similar slowing effect and can also prevent waterborne paints from forming a proper film, leaving a slightly chalky finish.
- Hot, dry conditions can cause the opposite problem paint skins over too fast, trapping solvents underneath and leading to bubbling or an uneven sheen.
- Humid coastal or seasonal climates benefit from painting during a stable, moderate-humidity stretch and running a fan or dehumidifier in the workspace, rather than relying on an HVAC system alone.
If you live somewhere with a distinct humid season, it’s worth timing the project around it rather than fighting it the paint itself doesn’t change, but your patience with the cure window should.
Common Mistakes That Ruin an Otherwise Good Paint Job
- Skipping degreasing and going straight to primer over invisible kitchen grime
- Using wall paint or all-purpose paint instead of a cabinet-rated enamel, which lacks the hardness to resist daily handling
- Rehanging doors before the cure window closes, even if they feel dry
- Applying thick coats to save time, which causes drips, extended cure times, and visible brush texture
- Ignoring the inside edges of doors and drawer fronts, which are the first place chips show up
- Painting in a closed, humid, or unventilated space, which slows curing and traps solvents in the film
DIY vs. Professional: What It Actually Costs
A DIY cabinet paint job typically runs from a few hundred dollars in materials for a mid-sized kitchen, plus a weekend or two of labor. Hiring a professional painter for the same kitchen generally costs several times that, but includes spray-booth-quality leveling, faster turnaround, and a warranty on the finish. The right call usually comes down to two things: how much time you can dedicate to proper prep and cure, and whether you have a spare room to store doors during the multi-week curing process. If you’re short on either, professional spraying is worth pricing out before committing to DIY.
Pro Tips From Cabinet Painters
- Leave doors off their hinges and flat on a drying rack rather than propped upright; it prevents drips from pooling at the bottom edge.
- Number every door and drawer on the top edge in pencil before removal, not just with tape, since tape can peel off mid-project.
- After reinstalling doors, leave them slightly ajar for the first 48 hours so air can circulate around the hinge edge, where paint is thickest and slowest to cure.
- If you’re painting over stained wood with visible knots, use a shellac-based stain-blocking primer; waterborne primers alone often let tannins bleed through months later.
- Test your color and sheen on the inside of a cabinet door first; kitchen lighting can shift a colour noticeably from how it reads on a paint chip.
Ready to Get Started?
A cabinet paint job rewards patience more than skill the prep and the cure window do most of the heavy lifting. Work through the surface assessment, don’t shortcut the cleaning and primer steps, and give the finish the weeks it needs to harden before your kitchen goes back to daily use. If you found this guide useful, browse the rest of the blog for room-by-room paint colour guides and more step-by-step home projects, or drop a comment with your cabinet material and finish questions happy to help troubleshoot.