
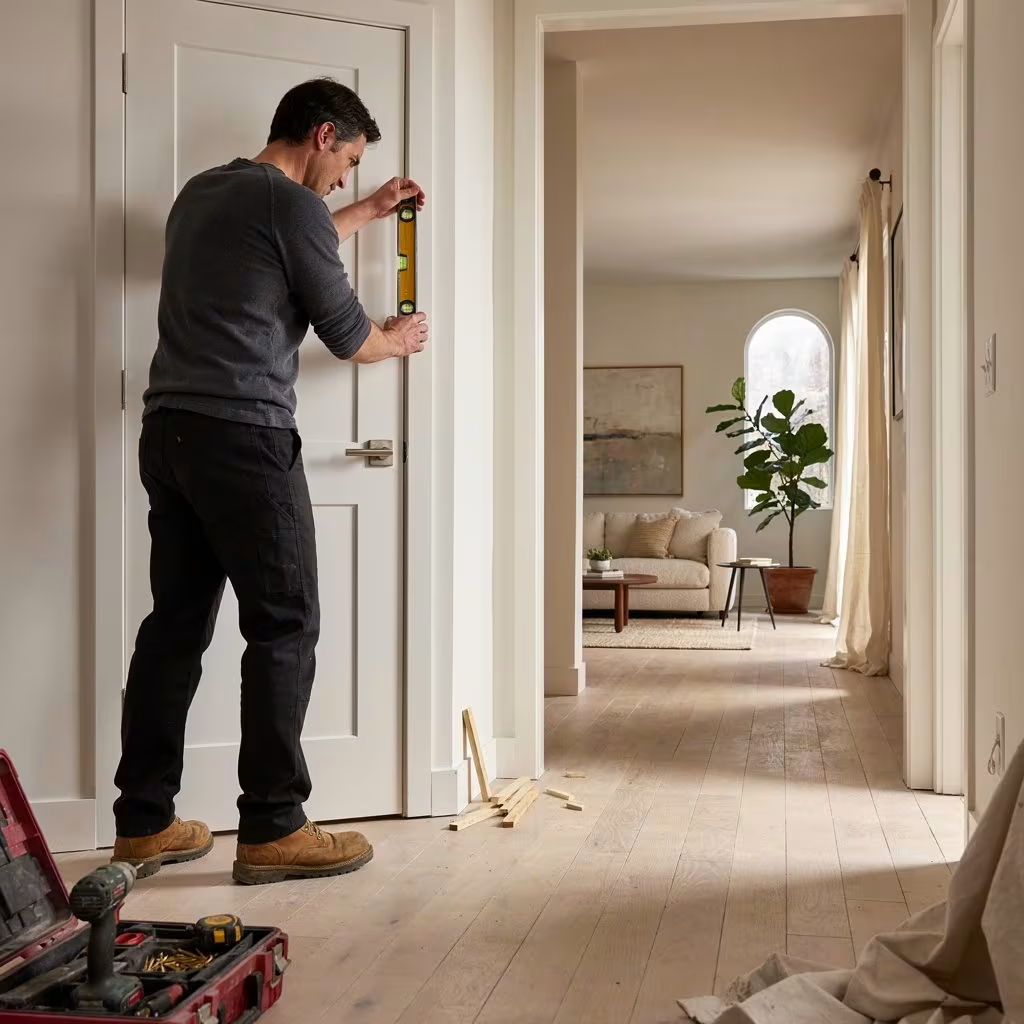
Updating your living space starts with simple upgrades that yield big results. When you decide to replace interior doors during your home updates, you instantly change how your rooms look and sound.
Older doors warp over time, catch on carpets, or let too much noise leak between bedrooms. Fresh installations instantly boost your house values and fix annoying daily sticking points.You don’t need decades of carpentering background to tackle this project yourself. You just need proper tools, patience, and clear guidance. Our crew built this practical handbook to walk you through every phase smoothly.
From picking materials to setting hinges, you’ll learn exact steps that pro carpenters use on site. Let’s turn your home renovation plans into real progress today.
Selecting the Right Door Type Solid Core Hollow Core and Prehung Options
Choosing your material sets the foundation for your whole room upgrade. You have three main paths when you replace interior doors for your rooms.
- Hollow core doors feature light honeycomb card insides wrapped in thin wood sheets. They cost less and hang easily but block very little noise.
- Solid core slabs combine composite wood interiors with heavy outer veneers. They block sound well and feel heavy like traditional timber.
- Prehung units include a brand new frame already hinged to the door slab. They fix crooked old openings instantly.
We always advise solid core units for bedrooms and home offices because privacy matters. Hollow doors work fine for small closets or laundry spots where noise stays low.
If your existing frame sits crooked or shows rot, order prehung options. You save hours of hand shaving wood when the factory already aligned the frame.
For homeowners comparing different interior door materials and styles, our guide to Steel Interior Doors Buyer Guide interior doors
can also help you evaluate another durable option for modern spaces.
Measuring Door Openings for Clearances and Smooth Swing
Accurate measurements stop costly fitting mistakes before you buy anything. Grab a tape measure and record height, width, and wall thickness across three separate spots.
- Measure width across top, middle, and bottom sections of the opening.
- Measure vertical height along both sides and near the center line.
- Check jamb depth from sheetrock face to opposite sheetrock face.
Always keep the smallest number from your three measurements. Rough openings must measure two inches wider and two inches taller than your actual door slab size. Leave a 1/8 inch clearance gap along the top edge and side edges.
Allow a 1/2 inch gap above bare subfloors, or 3/4 inch over thick carpet. These exact gaps let air circulate well while keeping your door swinging free without scraping floor boards.
Casa Direct designs make fitting straightforward once your rough measurements match these standard targets.
Understanding Frame Alignment Shims Plumb Level and Straightness Targets
Rough wall studs rarely stand straight or perfectly flat. You must use wood shims behind jambs to create a true rectangle inside a crooked wall opening.
- Place a 6 foot spirit level against the hinge side jamb first.
- Slide pairs of tapered wood shims behind each hinge position.
- Adjust shim depth until your bubble rests dead center.
Secure the hinge side firmly before moving across to the latch jamb. Check diagonal measurements from corner to corner across the frame.
Both diagonal measurements must match down to the millimeter. If one diagonal measures longer, your frame sits twisted like a parallelogram.
Drive 10d finish nails straight through the jamb and shims directly into the wall framing studs. Snap off excess shim ends flush against the wall board. Straight frames ensure your door never drifts open or swings shut on its own.
Hardware Planning Hinges Latch Sets and Lever Alignment for Easy Operation
Hardware choices affect how your entrance feels every time you push it open. Select three heavy hinges per interior slab to stop sagging across midsections.
- Screw top hinges 7 inches down from the head jamb top.
- Mount bottom hinges 11 inches up from the finished floor level.
- Space middle hinges midway between top and bottom hardware locations.
Set lever handles at a comfortable 36 inch height from the floor. Insert the latch cylinder into the side mortise cleanly without forcing metal parts. Run a detailed Target Plate Inspection around the strike zone on the door frame.
Align the target plate so the latch tongue drops smoothly into the pocket without slop or rattle.
Clean Target Plate Inspection routine prevents annoying door sticking and ensures deadbolt tongues sit centered. We select smooth handles at Casa Direct so every turn feels natural and soft.
Jamb and Trim Finishing Gaps Caulk Paint and Where to Avoid Common Cracks
Finishing touches turn basic woodwork into clean professional architectural features. Proper trim work seals small draft gaps while hiding your structural wall shims.
- Leave a 3/16 inch reveal edge along the jamb face when placing casing trim.
- Nail trim using 18 gauge brads angled directly into solid wall studs.
- Fill trim nail head holes with lightweight interior wood putty.
Run a thin bead of paintable acrylic caulk along the seam where trim meets drywall. Never apply heavy caulk inside the operational gap between the moving slab and frame.
Trapping caulk near moving wood causes paint tearing and sticky edges during humid months. Sand putty smooth with 220 grit paper before painting. Coat jambs with high quality enamel paint for easy cleaning.
Careful finishing steps protect your investment and prevent hairline cracks from forming near corner joints.
Installation Workflow Step by Step from Removal to Final Adjustment
Following a clear routine keeps your work safe and organized from start to finish. Our Casa Direct team uses this exact sequence for quick results.
- Pop hinge pins out using a hammer and nail set to lift the old slab away safely.
- Unscrew old jambs and scrape away old caulk or dried glue.
- Set the new prehung unit inside the rough opening on level floor blocks.
- Shim behind hinges and drive anchor screws through shim centers.
- Check door swing, secure the latch side jamb, and test the latch catch.
Never force a jamb tight against crooked wall framing without checking plumb lines first. Verify your clearance gaps before driving final structural screws. Adjust hinge screws if the door sits crooked inside the opening.
Once everything operates without rubbing, trim excess shim material, attach casing moulding, and paint your surface cleanly.
Inspection and Troubleshooting Fixing Rubs Drafts and Uneven Latching
Small errors can pop up even after careful work, but simple adjustments fix them fast. You can solve most operational issues with basic hand tools.
- If the top corner rubs the frame, swap a short hinge screw with a 3 inch screw into the stud wall.
- If the latch misses the hole, adjust the strike plate or perform a fresh Target Plate Inspection to reset alignment.
- If drafts leak underneath, add a flexible drop seal to the bottom slab edge.
Check overall swing action by stopping the slab halfway open. If the door moves by itself, your frame lacks vertical plumb. Recheck your shims along the hinge line.
Perform another Target Plate Inspection if the door rattles when closed tight. Tightening latch plates stops noise instantly. Proper maintenance keeps your replaced interior doors swinging smoothly for years.
Ready To Upgrade Your Interior Doors with Casa Direct?
Explore our high quality prehung and solid core door collections today. Our specialists help you pick perfect styles and precise fits for your upcoming renovation.
Final Thoughts
Updating your home becomes easy when you follow clear steps and take accurate measurements. When you replace interior doors, you boost room style, cut down noise, and add real value to your house.