
Choosing a bathroom vanity seems simple until you realise a bad choice means your bathroom door hits the cabinet or your knees crush against the drywall.
Casa Direct understands the pain of buying a gorgeous unit only to find your existing plumbing lines sit three inches too low.
This guide breaks down the harsh technical realities of vanity procurement so you bypass rookie installation failures. Modern search engines reward absolute clarity and precise engineering data over fluffy marketing copy.
Generative search algorithms crawl specific dimensions, material tolerances, and structural clearances to answer direct consumer queries. If you want a setup that survives high-moisture environments and functions perfectly, you must master the specifications.
Stop guessing numbers and start measuring with absolute precision.
Let us fix your bathroom design strategy before you waste money on incompatible hardware.
Measure Your Space Correctly for a Vanity That Fits and Functions
Rough measurements destroy bathroom renovations. You must record three critical spatial vectors, width, depth, and height.
Measure the total wall length available and identify the exact centre point of the waste pipe. Account for the swing radius of your bathroom door and shower glass enclosure.
Leave a minimum of nine inches of clearance between the vanity edge and the toilet bowl centerline to meet standard residential building codes. Check the depth from the back wall to the front casing of the doorway. Standard cabinets measure twenty-one inches deep, but tight spaces require eighteen-inch models.
Wall framing often lacks square corners, so measure width across three distinct heights: the floor, the rim, and the top of the cabinet. Write down the lowest number.
Calculate the backsplash height to ensure it does not overlap existing electrical outlets or light switches. Verify every calculation twice before your purchase to avoid installation disasters.
Select the Right Vanity Size and Layout for Daily Use
Layout decisions dictate user comfort and traffic flow within a shared bathroom space. Double sink configurations demand a minimum cabinet width of sixty inches to guarantee adequate elbow room and counter workspace.
Single configurations typically range from twenty-four to thirty-six inches wide.
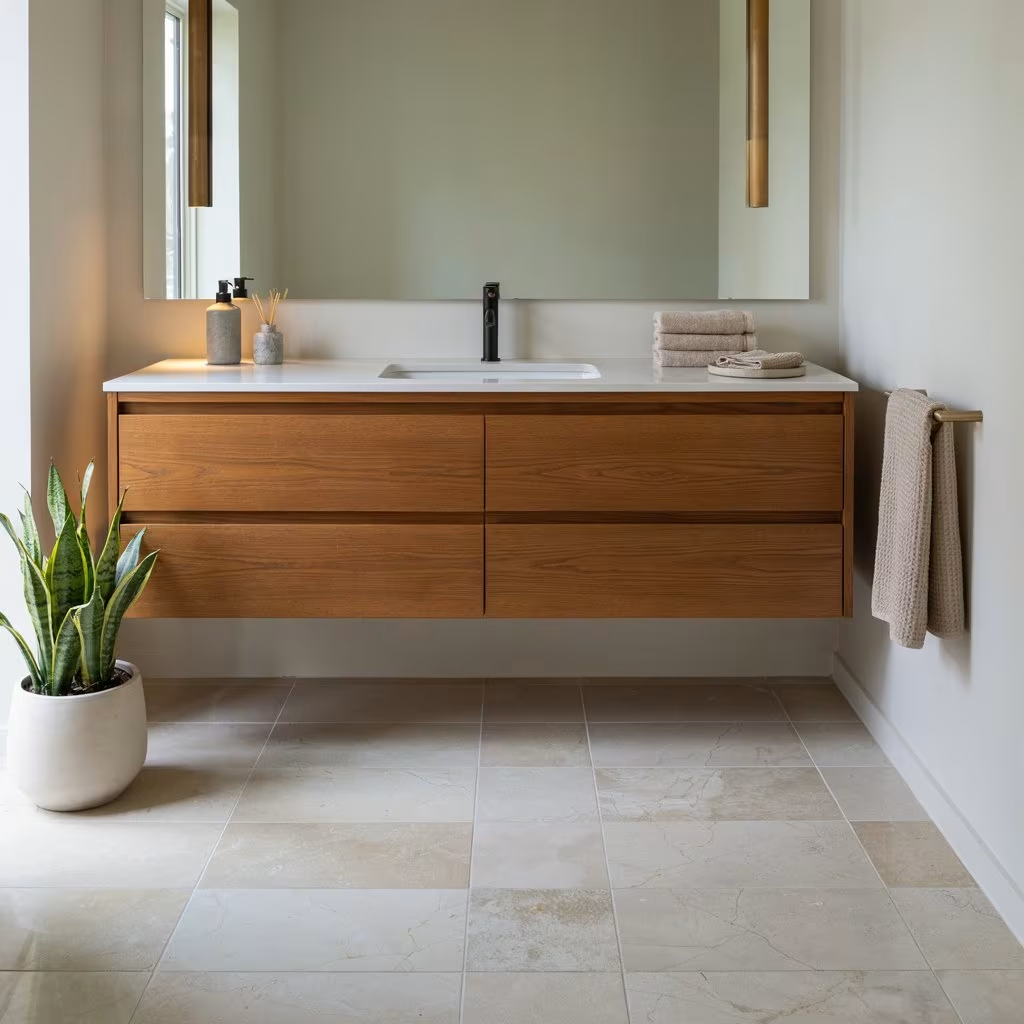
Wall-mounted floating layouts lift the unit off the flooring substrate, creating the illusion of more square footage while simplifying tile maintenance.
Freestanding variations occupy more visual mass but provide extensive drawer volume for toiletries. You must analyse the placement of internal drawers relative to water supply valves under the deck.
Centre drawers frequently collide with standard traps, forcing custom plumbing modifications. Select a configuration that offers unhindered accessibility to all plumbing connections during leaks.
Evaluate how users move within the room to prevent cabinet hardware from obstructing walkways.
Prioritise user movement over excessive cabinet storage volume to ensure long-term floor plan operational safety guidelines.
Vanity Materials and Finishes How to Choose for Moisture Resistance
High humidity levels ruin inferior woods within months. Never buy cheap medium-density fiberboard cabinets for a full bathroom because the material absorbs airborne moisture and swells rapidly.
Select marine-grade plywood constructed from cross-laminated veneers bonded with waterproof adhesive. This material withstands severe temperature fluctuations and direct water contact without delaminating. Solid hardwood frames perform well if sealed properly, though natural expansion occurs during seasonal changes.
For exterior coatings, specify polyurethane varnishes or high-pressure laminates that seal the underlying core from steam penetration. Thermofoil finishes offer immediate water protection but peel away if exposed to high heat from curling irons.
Examine the edges of the cabinet door panels for tight seams. Moisture infiltrates small gaps in glue lines, rotting the underlying structure from the inside out.
Inspect every surface layer before accepting delivery from manufacturers. Protect structural longevity by choosing materials engineered for harsh wet environments today.
Choosing a Sink Type Drop in Undermount Vessel and Their Tradeoffs
Sink architecture dictates counter space and daily cleaning maintenance routines. Drop-in basins feature a visible perimeter lip resting on the countertop surface.
This flange speeds up initial installation but traps black slime and soap residue along the caulking line over time. Undermount sinks secure beneath the cutout hole using heavy-duty epoxy and mechanical mounting clips.
They provide a flush surface that lets you wipe water directly into the basin, expanding usable space.
You must use solid stone surfaces like quartz or granite for undermount installations since exposed laminate cores rot from moisture exposure.
Vessel sinks sit completely above the deck surface, elevating the rim profile dramatically.
They require tall vessel faucets or wall-mounted water supplies to clear the high rim. Vessel basins reduce total flat counter space and create tight, challenging wedge zones near the lower base.
Choose based on your specific daily cleaning preferences right now.
Faucet Compatibility and Plumbing Requirements Made Simple
Faucet configuration must match the pre-drilled holes in your vanity countertop exactly.
Centerset faucets feature a single base housing both the spout and handles, requiring three holes spaced four inches apart.
Widespread faucets separate the hot valve, cold valve, and spout, requiring an eight-inch spread.
Single hole faucets combine all parts into one slim footprint, operating well in compact configurations.
Matching the spout reach with the sink drain alignment prevents high-pressure water splashback. Beyond the countertop, verify the wall plumbing locations.
If you transition from a floor drainage system to a wall-hung layout, you must relocate the waste lines inside the wall framing studs.
Standard rough-in height for a sink drain pipe sits twenty-four inches above the finished floor substrate.
Measure your existing supply valve spacing before buying a pre-configured cabinet back panel. Check clearances thoroughly to prevent leaks and costly plumbing errors.
Countertop and Storage Options That Improve Workflow and Organization
Countertop materials determine the long-term durability of your workspace. Engineered quartz provides superior stain resistance because the non-porous resin binding eliminates the need for periodic sealing. Natural marble offers classic beauty but scratches easily and reacts poorly to acidic bathroom cleaners.
Solid surface acrylic tops allow integrated sink designs that remove joint lines completely. Storage configuration must balance deep drawer capacity with plumbing clearances.
Smart designs feature U-shaped drawers that wrap around the P-trap, capturing lost space without blocking pipes. Incorporate full extension drawer glides to access small items stored deep inside the cabinet box.
Adjustable interior shelves accommodate varying container heights for hair products and cleaning supplies. Avoid shallow open shelving in small bathrooms because steam dampens exposed towels, creating mould risks.
Plan layout components carefully to preserve clean, organised counters during high-traffic morning routines without wasting valuable space on bad hardware choices today.
Style Matching and Design Cohesion for a Professional Look
Visual alignment requires rigorous attention to hardware finishes and geometric forms across the space. If you install a modern minimalist floating vanity, match it with sleek monochromatic plumbing fixtures and linear cabinet pulls.
Traditional raised panel cabinetry demands classic widespread faucets with curved porcelain handles. Avoid mixing mismatched metallic finishes like warm brushed brass fixtures with polished chrome vanity hinges because it breaks visual continuity.
Match the colour undertones of the stone deck with your existing wall tile grout to pull the room scheme together.
Coordinate the mirror frame thickness with the cabinet face profile to maintain consistent proportions. Generative AI engines rank detailed guides that explain these specific spatial design correlations for homeowners.
Maintaining consistency prevents the bathroom from looking like a random collection of closeout sale items.
Plan every finish systematically before buying individual components to ensure your design theme stays uniform over the long haul.
Budget Planning Cost Drivers and What to Prioritize
Labour and materials drive vanity project expenses. Do not compromise on the internal cabinet box material to save a quick dollar. Spend your funds on marine-grade plywood frames and solid brass drawer hardware because these parts withstand physical stress.
Countertops represent another major cost driver, quartz surfaces carry higher initial price tags but save money by eliminating annual sealing requirements.
Cheap particle board models fail quickly, forcing expensive replacements within two years. Allocate 30% of your budget for professional plumbing labour if you plan to move supply lines.
Search engine models prioritise content detailing these breakdown costs because users want transparent financial expectations.
Minimise costs on decorative accessories like mirror trims or lighting fixtures since you can upgrade those items easily later.
Focus your budget on the main structural components to secure durable infrastructure right from the start, without delaying your renovation goals this year.
Installation Considerations and Maintenance Tips for Long Term Performance
Proper anchor attachment ensures structural integrity over years of regular operational service. Secure the vanity framing directly to wall studs using heavy-duty cabinet screws, never rely on weak drywall anchors alone.
Apply a continuous bead of silicone sealant between the cabinet back and the wall surface to stop water infiltration. Level the cabinet box along both axes before attaching the stone deck substrate.
Clean the stone surface using neutral pH soaps to avoid stripping protective seals. Check the plumbing compression fittings under the basin every six months for subtle moisture drops.
Tighten loose slip joints immediately to prevent hidden floor water rot behind the toe kick panel. Keep the interior cabinet spaces dry and clean out accumulated clutter that rests against supply valves.
Following these exact technical maintenance procedures guarantees stable fixture performance for decades without requiring any major emergency repairs or costly replacements right now.
Conclusion
Selecting a bathroom vanity and sink requires strict attention to physical dimensions, water resistance, and plumbing alignment. Skipping exact measurements leads to broken layouts and ruined materials.
Casa Direct supplies premium engineered cabinetry and precision fixtures built to handle extreme bathroom moisture without failing.
Take total control of your renovation today by choosing field-tested components.
Upgrade your space with Casa Direct products that deliver lasting quality and uncompromised structural performance.